Do you want to create your very own instructional tutorial? Not only are tutorial videos useful, but they make for engaging content that you can share on YouTube, social media, or even publish on your own website or blog.
Creating a tutorial can be tricky though, and you’ll need to record and compile the video. That is where Movavi Screen Capture Studio could be a huge help, as it will make it much easier for you to do both.
Record Video Footage for the Tutorial
The first thing you need to know about how to make a tutorial is to record the video footage that you need. Once you launch Movavi Screen Capture Studio, you can opt to:
- Record video footage from your screen
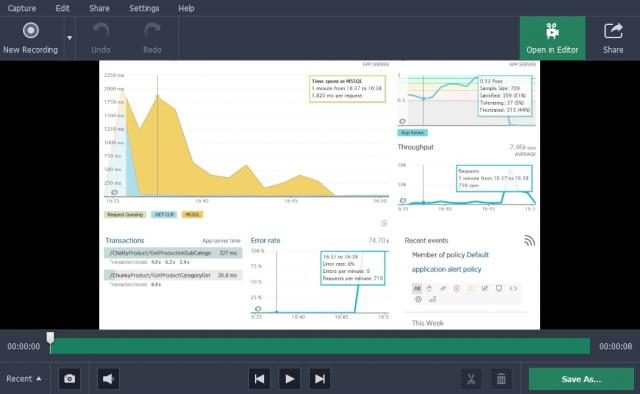
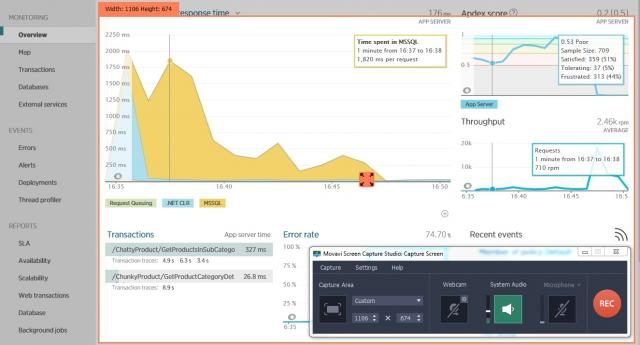
If your tutorial involves anything digital you could record video footage directly from your screen by clicking on the ‘Record screen’ option. After that you can draw a frame with your mouse cursor over the area that you want to record, and set up the other recording parameters in the interface that will appear. To start recording just press the ‘REC’ button and then click ‘Stop’ when you’re done and you can either save the video or open it directly into the editor.
- Record or import videos from other devices
It is possible to record or import videos from other devices, and to do so you should plug in your device and select the ‘Edit video’ option to open the editor then click on the ‘Record Video’ button. In the video capture module that opens you can expand the ‘Video capture device’ list to select the device then click ‘Start Capture’ to begin recording and ‘Stop Capture’ when you’re done, or select and import videos from devices like AVCHD cameras into the editor.

Because Movavi Screen Capture Studio will let you record and import videos from various sources, you should be able to create any type of tutorial – whether it involves something physical or digital.
Compile and Edit the Tutorial
If you have the footage that you need, you can click ‘Edit video’ in the launch menu and open up Movavi Screen Capture Studio’s editor. Next you can click ‘Add Media Files’ to add the videos to it.
Once added you’ll have a lot of ways you can improve the videos, but you should start by dragging them around in the ‘Timeline’ to arrange the sequence they’re in. Additionally Movavi Screen Capture Studio will let you trim out any unwanted parts, enhance the video quality, add background music, apply effects and filters, insert captions, and more.
It would be worth your while to explore all the features in Movavi Screen Capture Studio and see for yourself what they can do. Due to its user-friendly and intuitive approach you shouldn’t have any trouble applying the features that you need to your video and will be able to quickly use them to create a tutorial that looks impressive and professional.
Support InfoStride News' Credible Journalism: Only credible journalism can guarantee a fair, accountable and transparent society, including democracy and government. It involves a lot of efforts and money. We need your support. Click here to Donate
